
How to Set a Problem
-
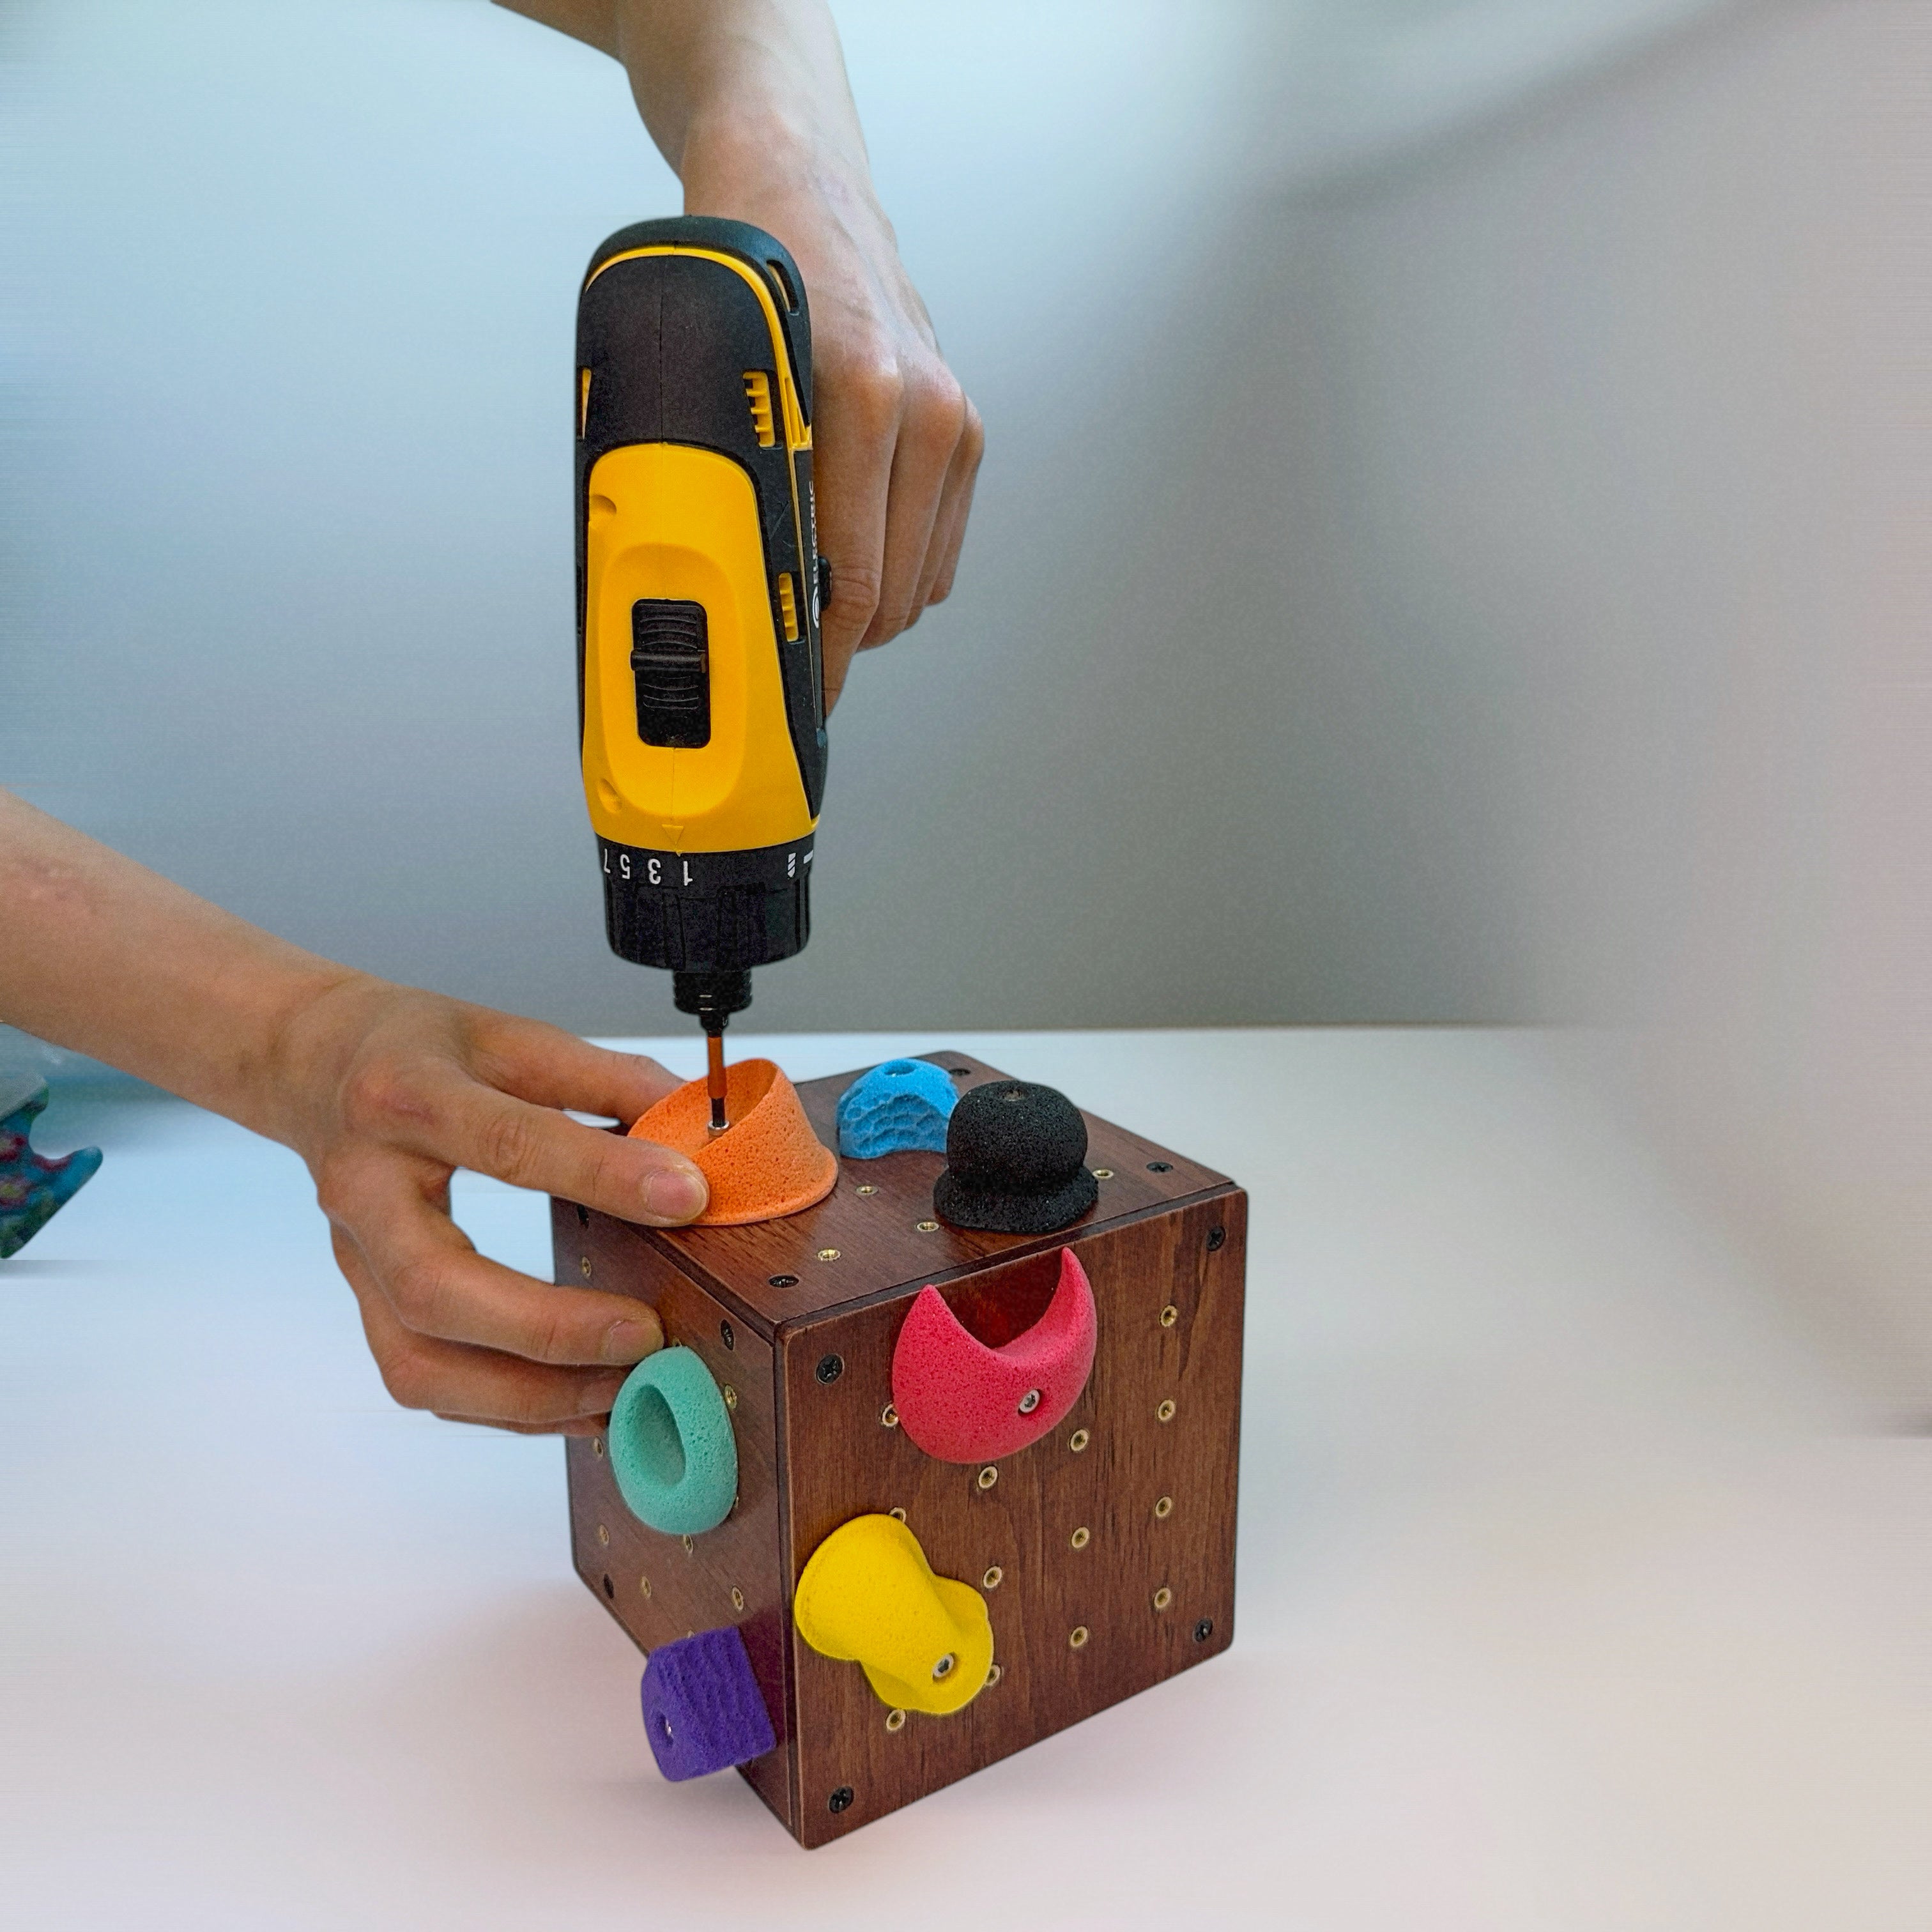
Step 1. Attach the Holds
• Use the power driver and bolts to install the holds.
You can place them at any position and angle—set your own route just like a professional setter. -
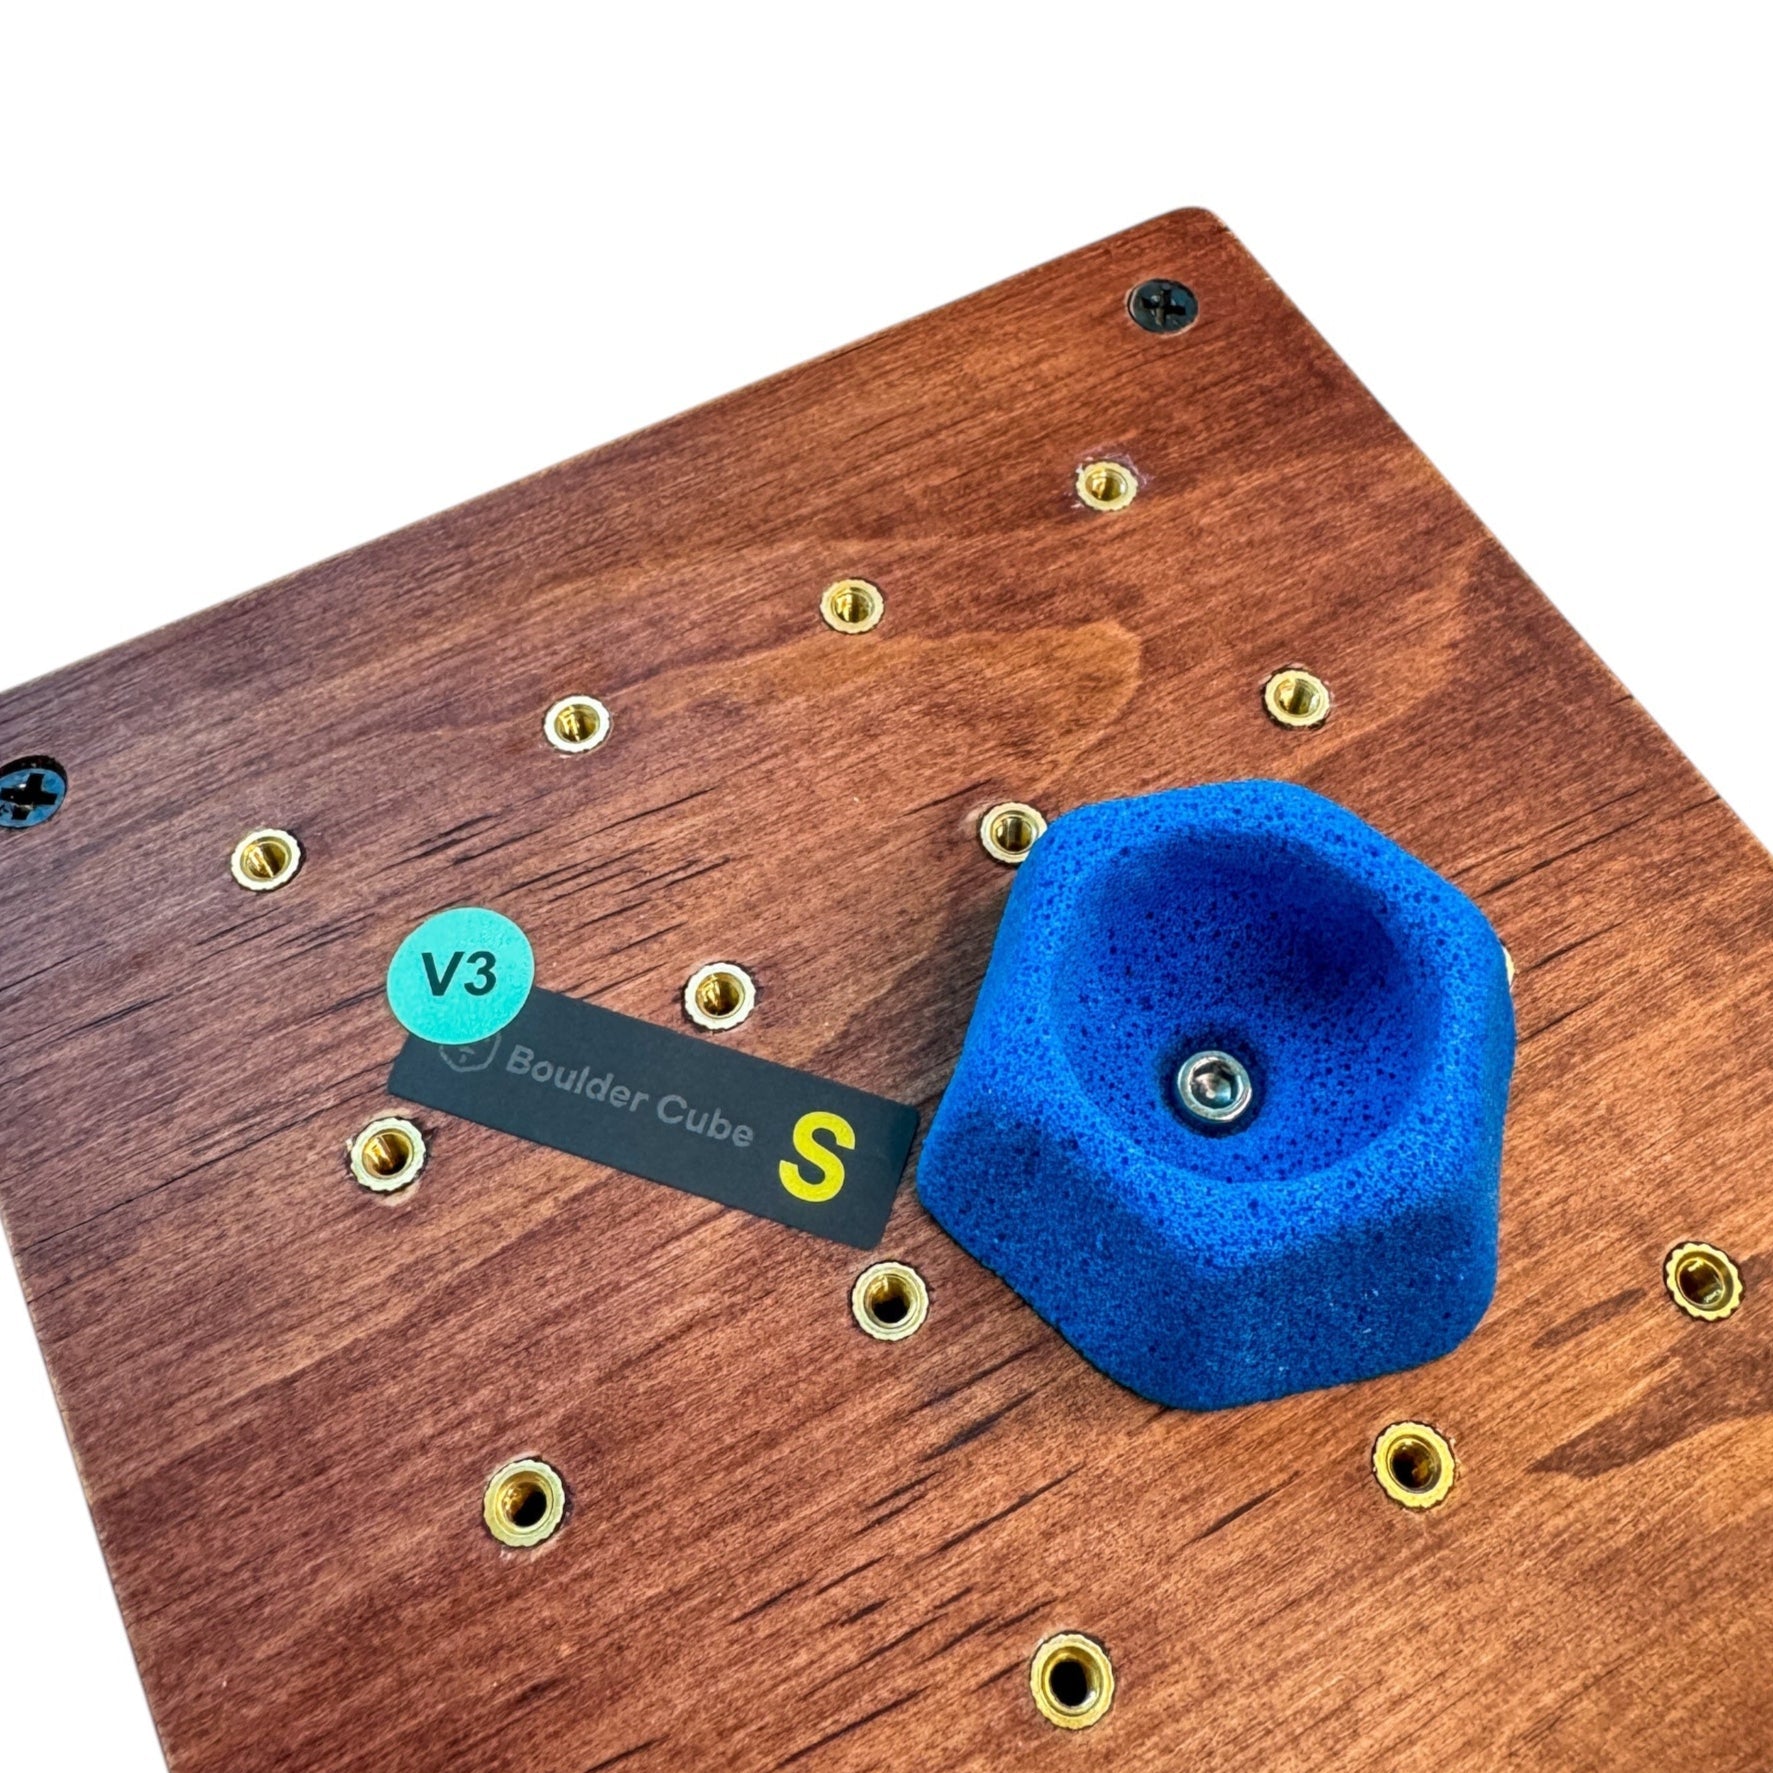
Step 2. Mark Your Problem
• Use the provided stickers to mark the Start and Top holds.
Set a difficulty level and label it on the start hold.
You can also use masking tape if you prefer.


How to Send
-

Use one hand only 🖐
• Start by placing all five fingers on the hold marked “Start.”
• Finish the problem by placing all five fingers on the hold marked “Top. -

✅ What’s Allowed
When your palm is facing down
✅ It’s okay to touch the cube with your fingers.
✅ Grabbing the edge (arete) is also allowed. -

❌ What Not to Do
When your palm is facing up
❌ Do not grab the cube — always grip the holds only.
❌ No dynos. Hard landings could damage the wooden cube.


⚠️ Please Read Before Use: Safety Notice

Keep it Safe: Use on a Soft Surface
Always use Boulder Cube on a soft, padded surface — such as a carpet, bed, sofa, or bouldering mat.
Hard surfaces can cause serious damage. Always use a padded surface.

Use the Correct Torque Setting
Set both the top switch and the torque dial to “1” before using the electric driver.
This prevents the holds from being compressed or the insert nuts from being damaged.
⚠️ Do not use other electric drivers.
Only low-torque drivers with a peak torque of 1 N·m or less are safe for the Boulder Cube.
Damage caused by non-recommended drivers or incorrect torque settings may not be covered under warranty.
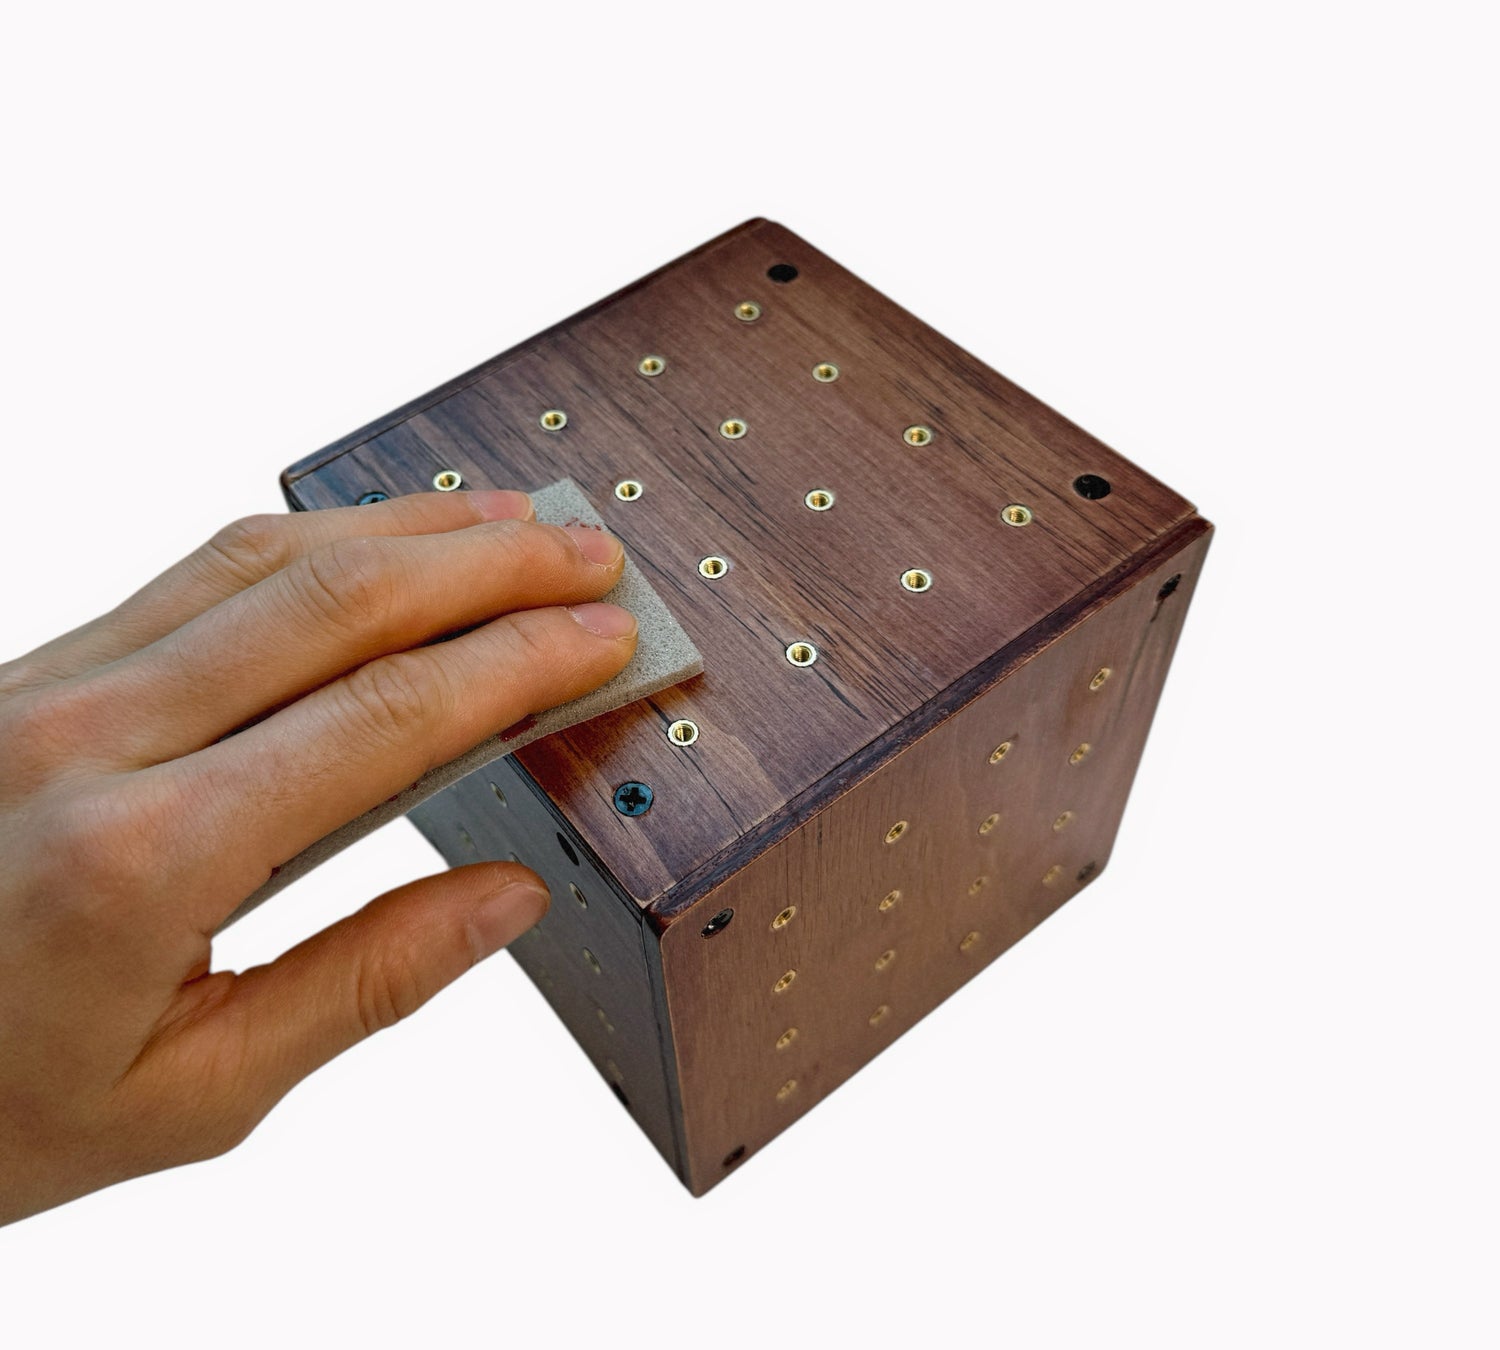
Cube Care Instructions
• Marks may appear after attaching and removing holds.
• Gently sand the surface with the included soft sandpaper, then wipe it clean with a damp tissue.
• Avoid using rough sandpaper — it may damage the cube’s surface.
100% Handcrafted Product
-
• Minor Surface Marks
Small scratches or surface marks may be present.
-
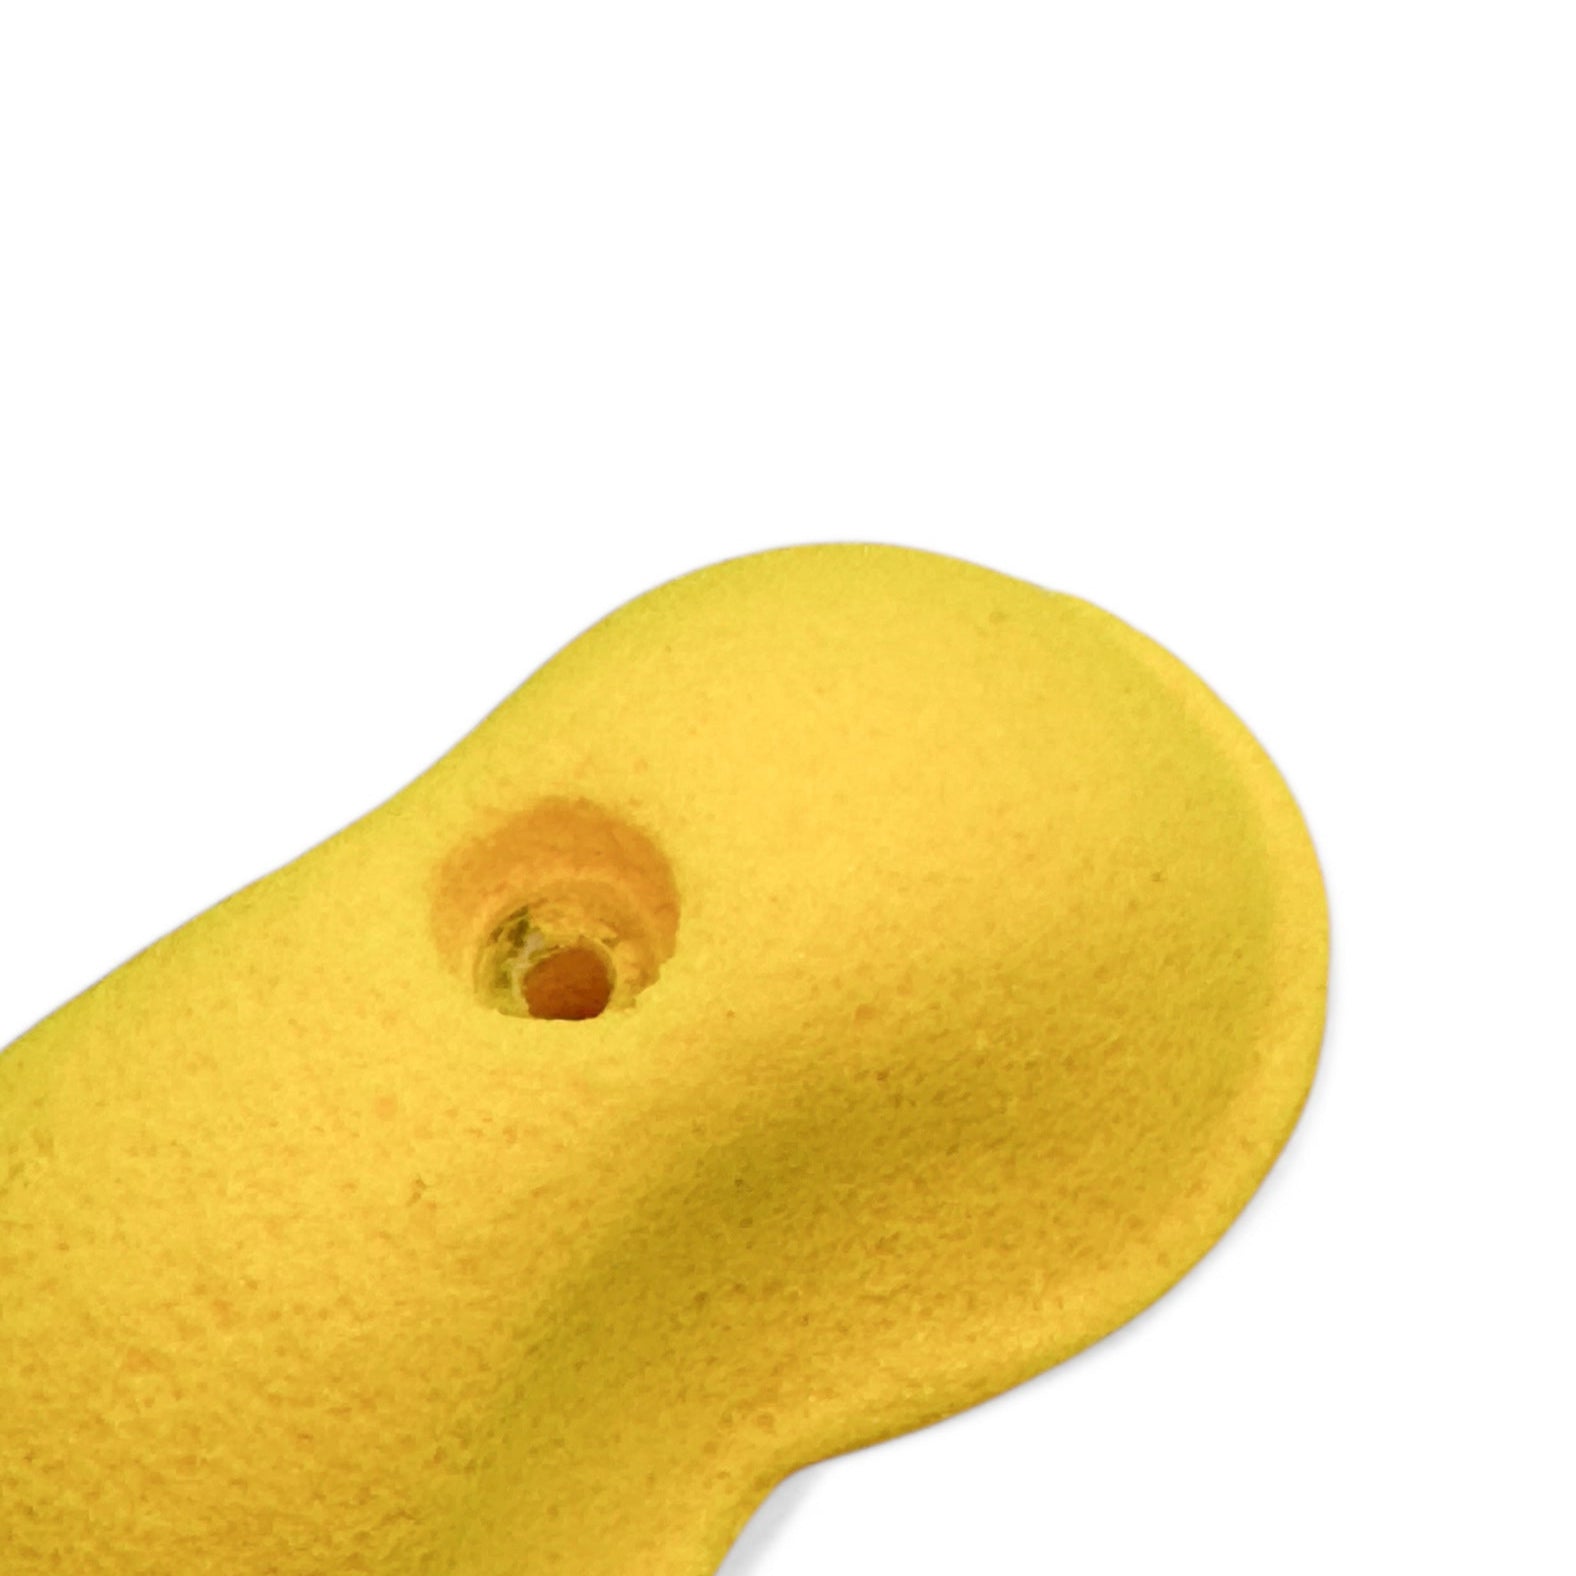
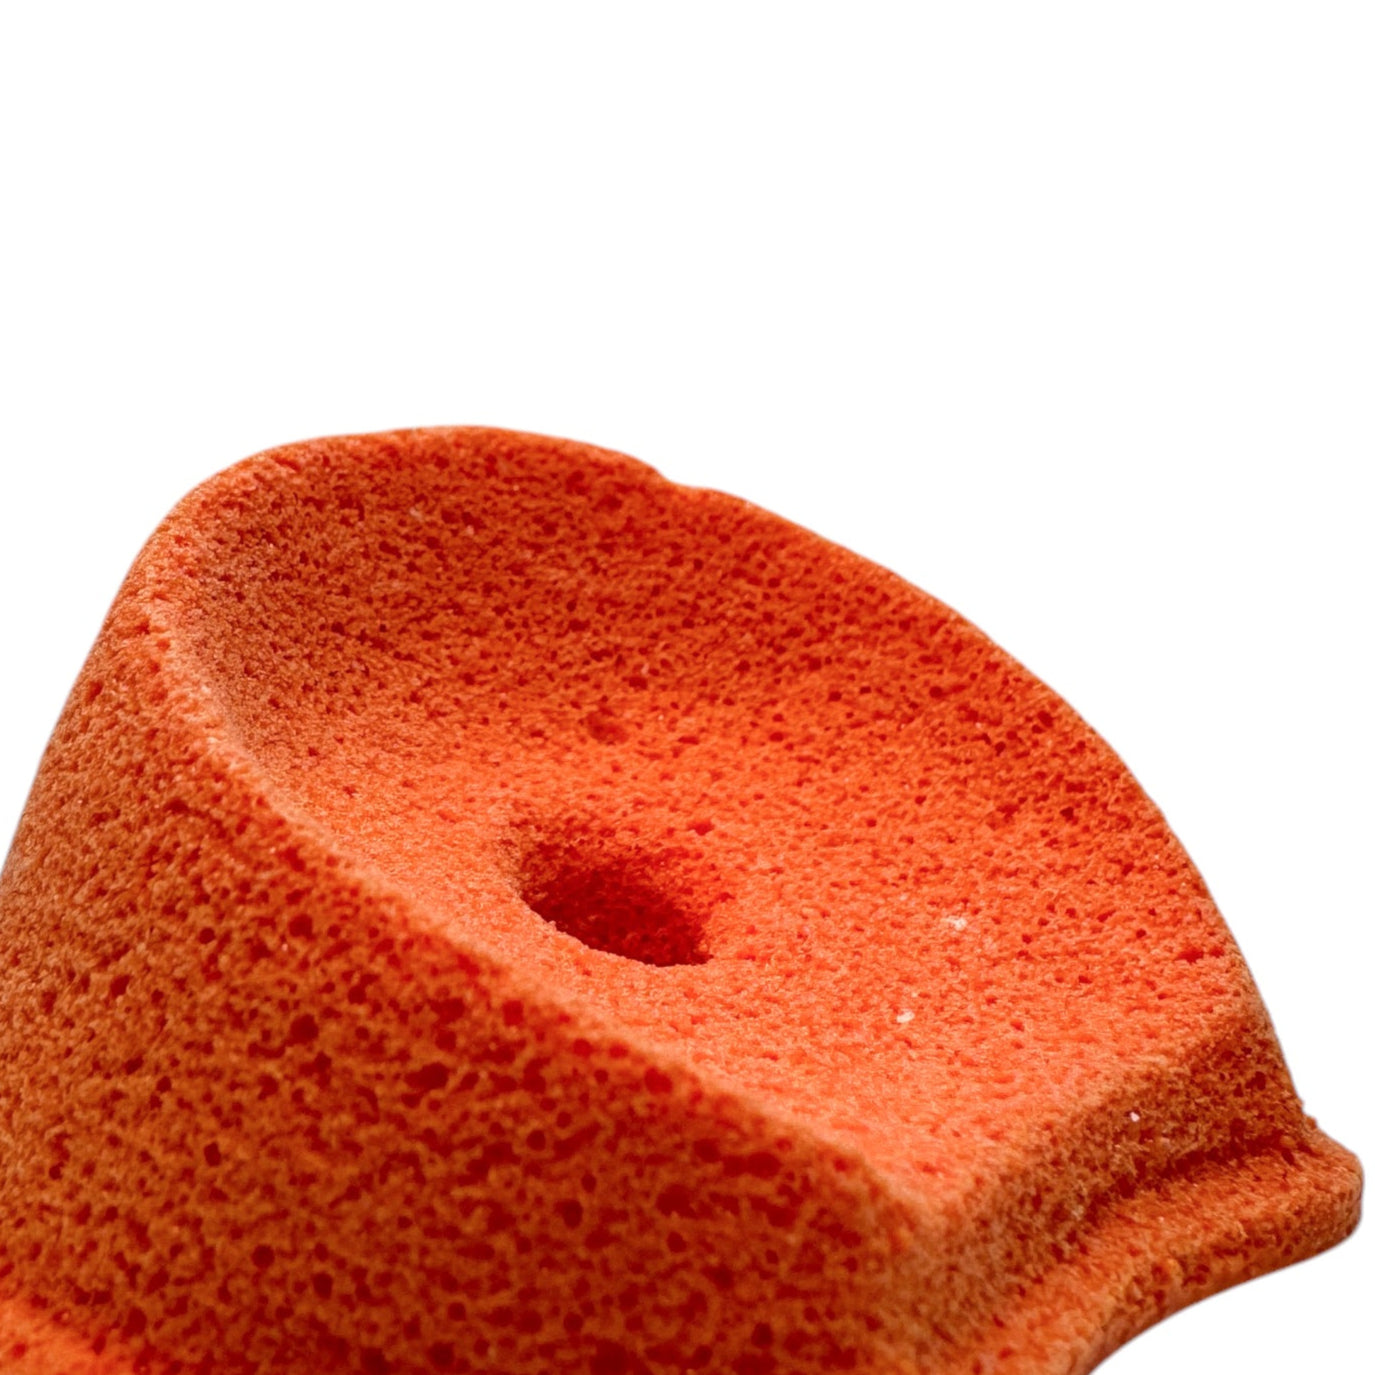
• Center Hole Marks
You may notice white scratches or black marks around the center hole — these are from pre-fit testing.
-

• Slight Edge Lift
Some holds may not sit completely flat, and the edges may lift slightly due to uneven bottoms.
-
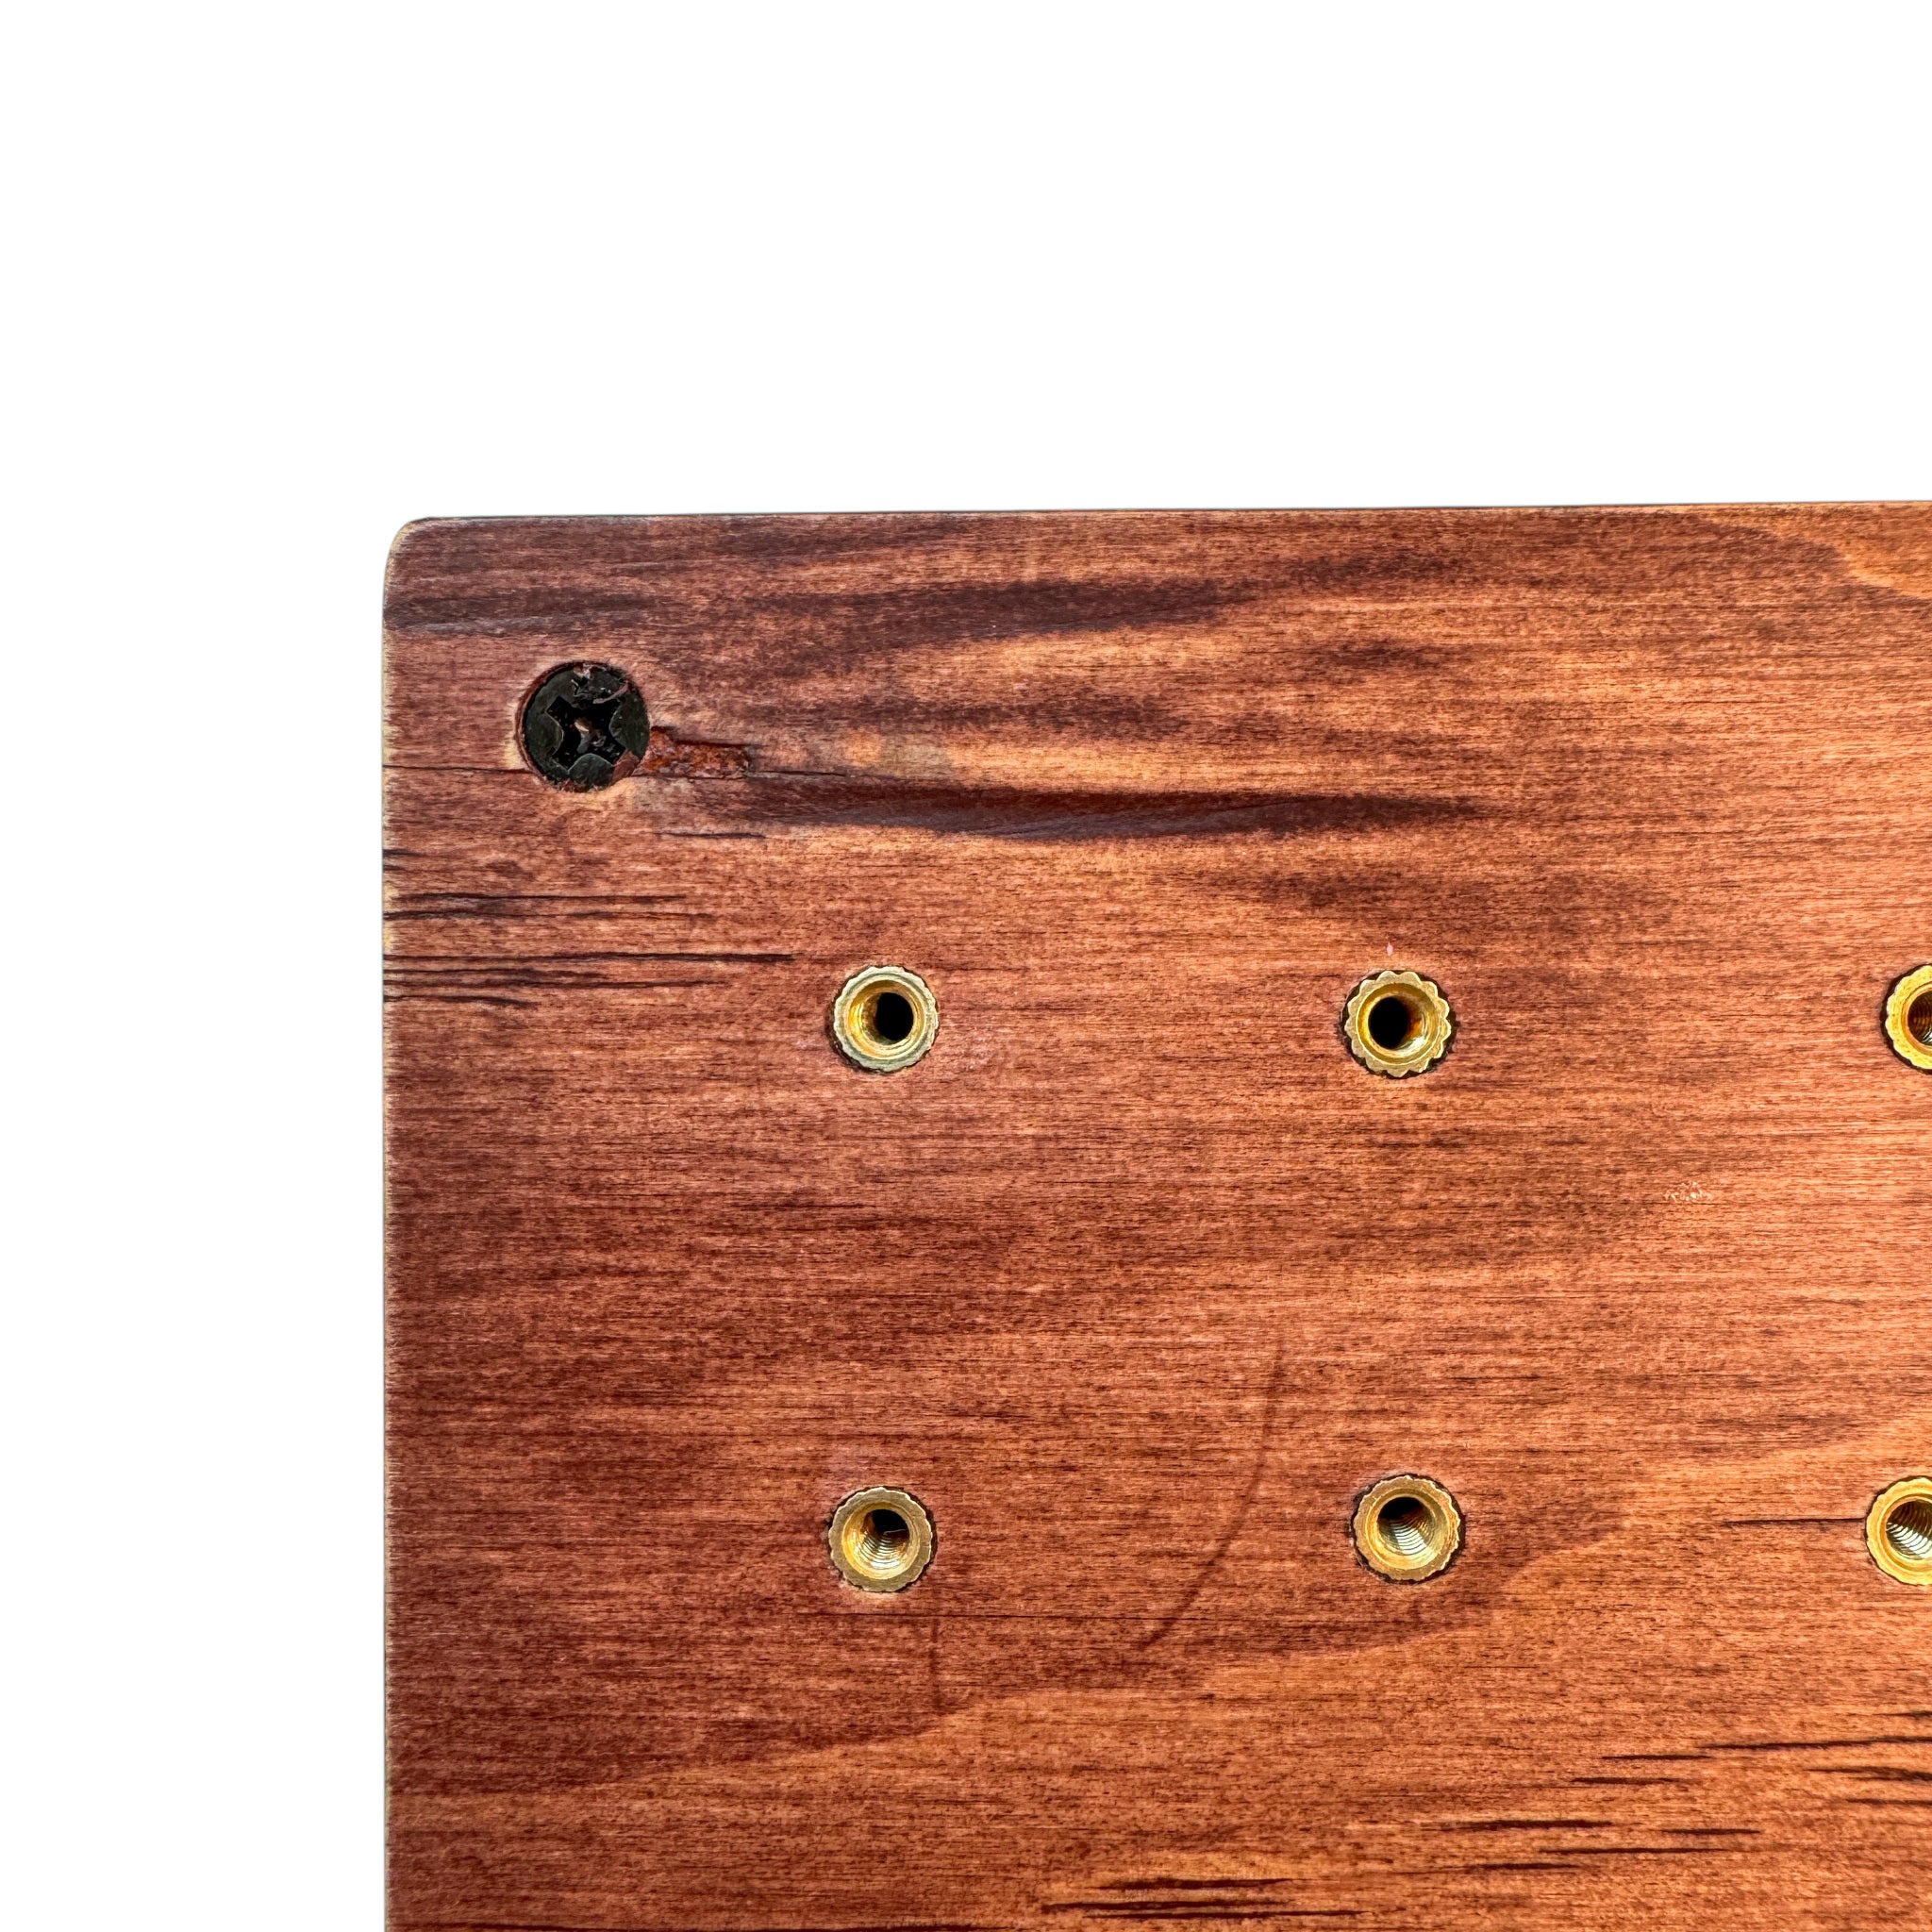
• Natural Wood Characteristics
The wooden cube may have natural grain patterns or small scratches inherent to real wood.


